Replacing a door lock is a straightforward process that can significantly enhance the security of your home. Whether you’re upgrading to a more secure lock or simply replacing a worn-out one, following the correct steps ensures a smooth and effective installation. Here’s a comprehensive guide to help you through the process:
1. Choose the Right Replacement Lock
Before you begin, select a lock that suits your needs. Consider the type of lock you currently have and the level of security you desire. Common types include deadbolts, knob locks, and electronic locks. Ensure that the new lock matches the existing hole and backset measurements of your door or be prepared to make adjustments.
2. Gather Tools and Materials
You’ll need a few basic tools and materials:
- New door lock and hardware
- Screwdriver (flathead and Phillips)
- Drill and bits (if modifications are needed)
- Tape measure
- Wood filler (for covering old screw holes if needed)
- Chisel (for adjustments)
3. Remove the Old Lock
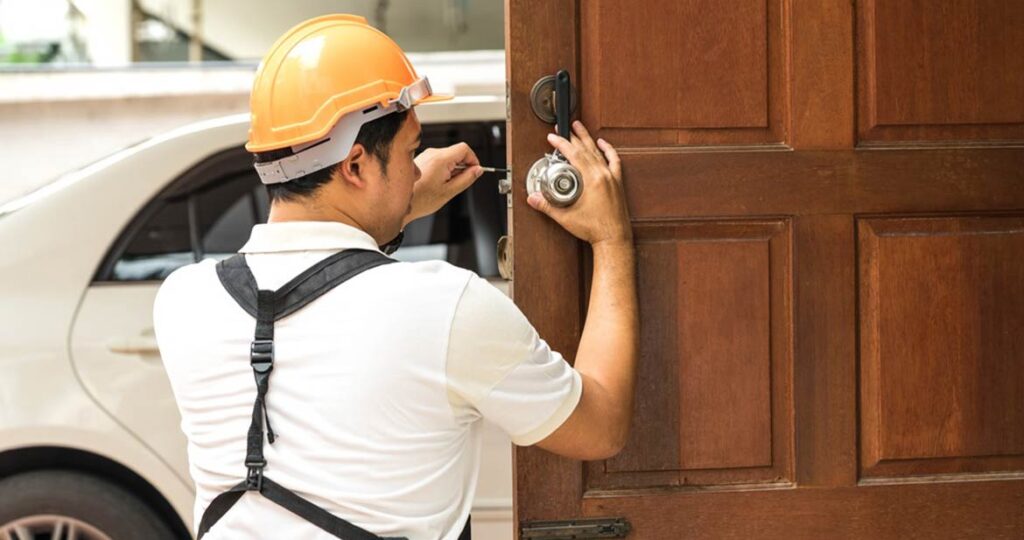
a. Remove the Lock Screws: Start by unscrewing the screws on the interior side of the door. These screws hold the lock’s interior and exterior components together. Depending on the type of lock, you may need to remove screws from the latch plate as well.
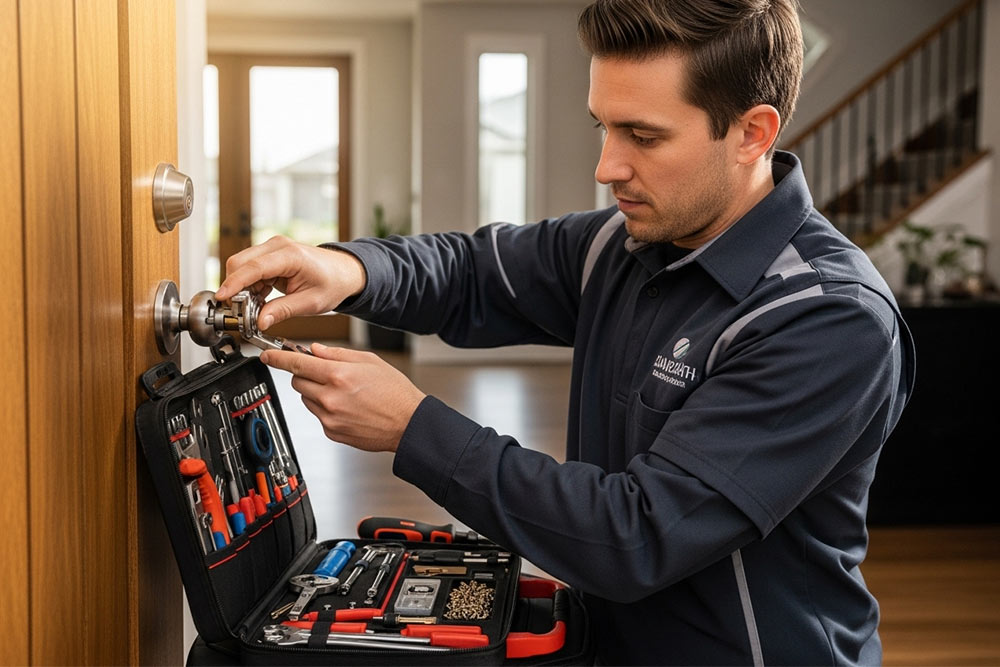
b. Detach the Lock Components: Once the screws are removed, pull apart the interior and exterior parts of the lock. For knob locks, you may need to push in a release button or tab to separate the two halves. For deadbolts, remove the mounting screws and take out the bolt mechanism.
c. Remove the Latch Plate and Strike Plate: If the latch plate (the metal plate on the door edge) and the strike plate (the metal plate on the door frame) are part of the old lock, remove these as well. You may need to use a screwdriver or drill to remove the screws.
4. Prepare the Door for the New Lock
a. Inspect the Door and Frame: Check for any damage or wear that might need repair before installing the new lock. Fill any old screw holes with wood filler if needed and allow it to dry completely.
b. Adjust the Hole Size and Alignment: If the new lock doesn’t fit the existing holes, you may need to drill new ones. Measure the backset (the distance from the edge of the door to the center of the lock hole) and ensure the new lock aligns with it. Use a chisel to adjust the mortise if necessary.
5. Install the New Lock
a. Insert the Latch Mechanism: Place the latch mechanism into the hole on the edge of the door. Secure it with screws, ensuring it’s flush with the edge of the door. Make sure the latch bolt operates smoothly.
b. Attach the Lock Components: For knob or lever locks, align the exterior and interior parts of the lock, ensuring the spindle (the rod connecting both sides) fits through the latch mechanism. Secure the components with screws.
c. Install the Strike Plate: Position the new strike plate on the door frame. Ensure it aligns with the latch bolt. Screw it into place, making sure the latch fully engages when the door is closed.
6. Test the New Lock
a. Check Functionality: Test the new lock by locking and unlocking it several times. Ensure that the key turns smoothly and the latch bolts securely into the strike plate.
b. Inspect Alignment: Close the door and check the alignment of the latch with the strike plate. Make any necessary adjustments to ensure a proper fit.
7. Make Final Adjustments
If the new lock requires any fine-tuning or adjustments to fit perfectly, now is the time to make those changes. This might involve adjusting the latch plate, strike plate, or the alignment of the lock components.
By following these steps, you can effectively replace a door lock and improve the security of your home. Remember, if you encounter any issues or if the installation seems beyond your expertise, don’t hesitate to consult a professional locksmith.
Lorem ipsum dolor sit amet, consectetur adipiscing elit, sed do eiusmod tempor incididunt ut labore et dolore magna aliqua.


